

Do you love rich espresso-like coffee without the use of any expensive tools or complicated steps?
Well there’s the Aeropress for that. It features an entirely new and unique way to brew coffee. The flavor of the coffee brewed by the Aeropress have been praised by coffee addicts, professional cuppers, and coffee aficionados alike.
Tasters praise the smooth, rich flavor that you can get with this simple, quick brew method.
It makes the absolute best cup of coffee I’ve tasted in my entire life.
Lewis Singer – Cooks Junction
Since its inception in 2005 it has been steadily gaining a cult like following because of it’s impressive brewing method.
I didn’t know the same coffee could taste so good.
Peter Whitely – Sunset Magazine
During my month of testing the Aeropress I can go over what I loved, and why I think it should be in every coffee lover’s household. From what I learned this is a great compact coffee maker for traveling. If you have a limited amount of space and are on a budget this is a fast and easy way to brew amazing coffee.

Check out the Aeropress on Amazon and read all the great reviews from over 7,500 happy reviewers.
The AeroPress accessories
The Aeropress comes in only one version and that’s all you need to brew a great coffee. There are no premium parts that you need to improve anything. This is just perfection in a package. There is the Aeropress Go for those that want to travel with an Aeropress and it is a different product.
It is ideal for the minimalist coffee lover looking for a quick and easy way to brew a smooth cup of coffee without acidity or bitterness. You can use it to brew either espresso style coffee or add more water to brew a black coffee.
When you buy the Aeropress it comes with the following:

Aeropress Funnel
The funnel is used to pour the ground coffee into the Aeropress chamber without making a mess.

Filter Cap
The filter cap attaches to the Aeropress chamber and holds one of the Micro-filters to help filter the coffee grounds.

Aeropress Chamber
This is where the air pressure is built up to push the hot water through the coffee grounds to brew.
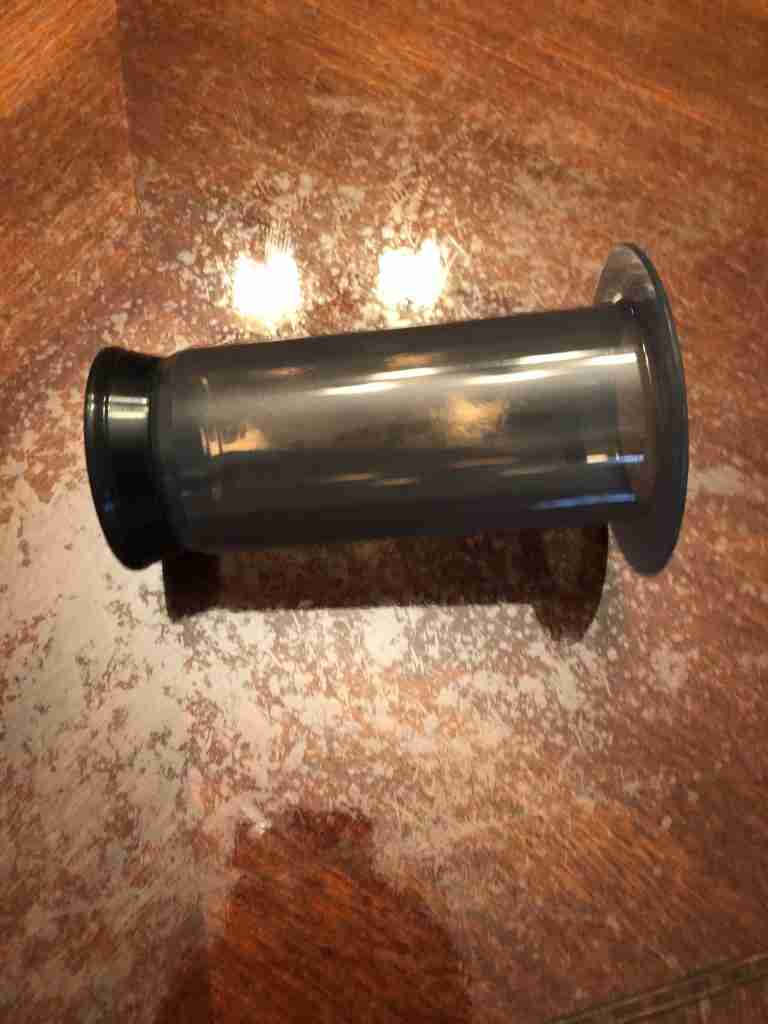
Aeropress Plunger
You use the plunger like a french press to compress the air and push the hot water through the grounds brewing it.

Coffee Stirrer
You use this to stir the coffee grounds and mix all the grounds with the water so it is all saturated.
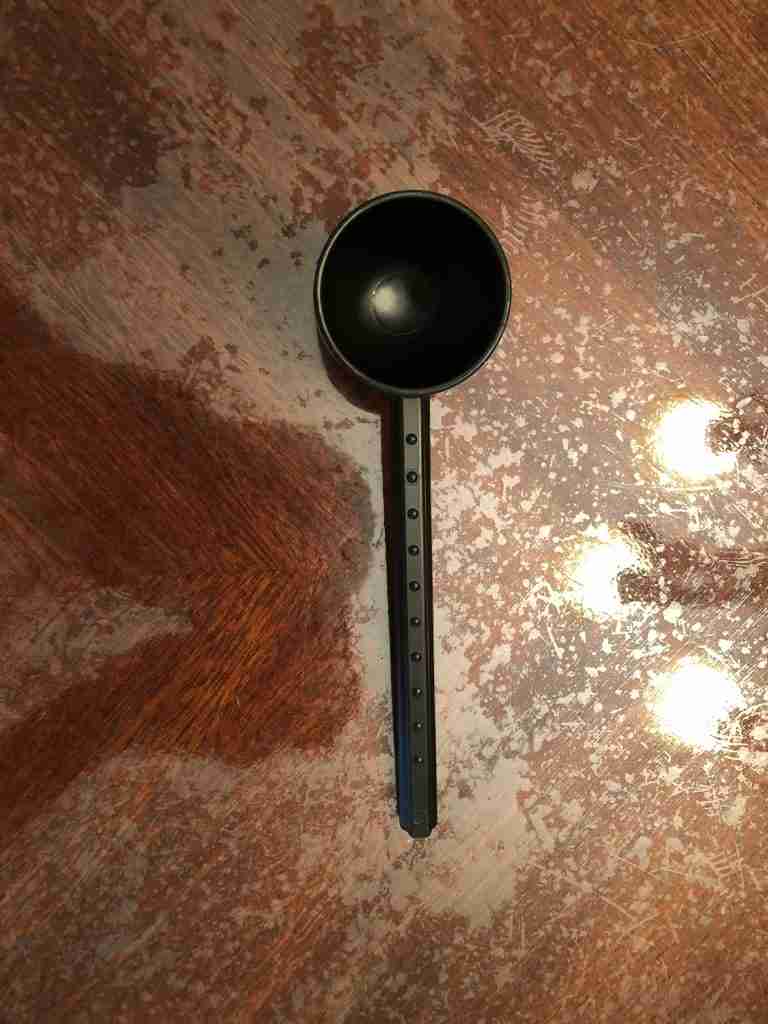
Dosing Scoop
You can use this scoop to gauge how much coffee you are using when brewing with the Aeropress.

Micro-Filters
The Aeropress comes with 350 biodegradableMico-filters that can be use for 1 cup of coffee each.
Filter Holder
The Micro-filters fit perfectly inside the filter holder allowing for easy access when brewing.
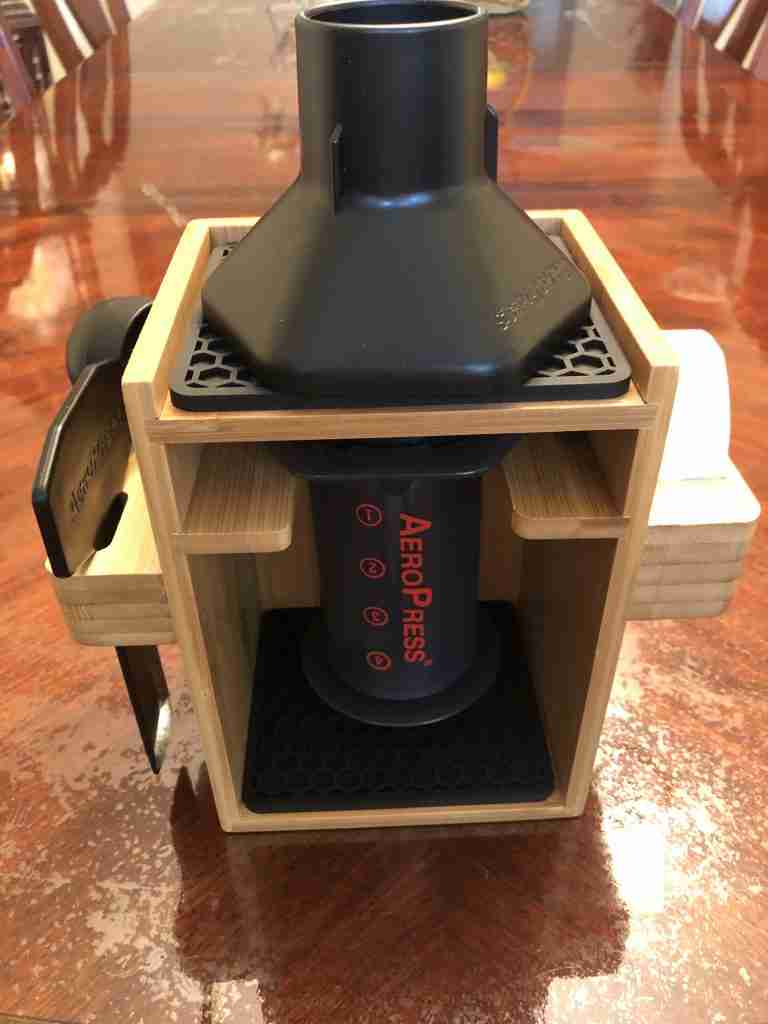
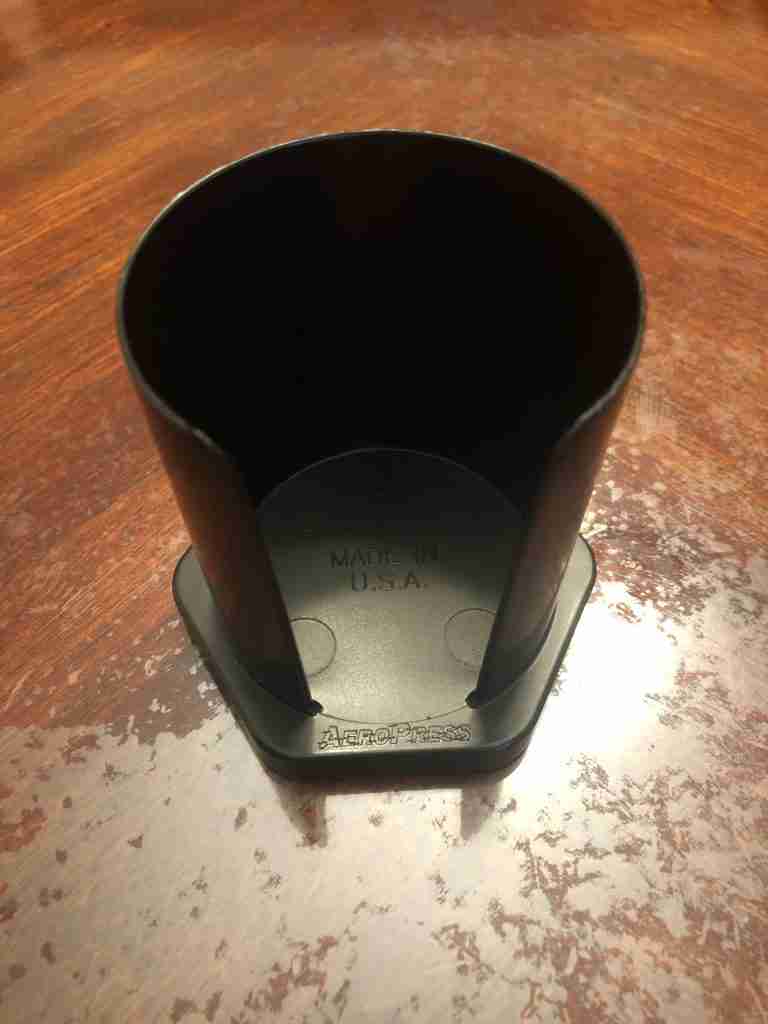
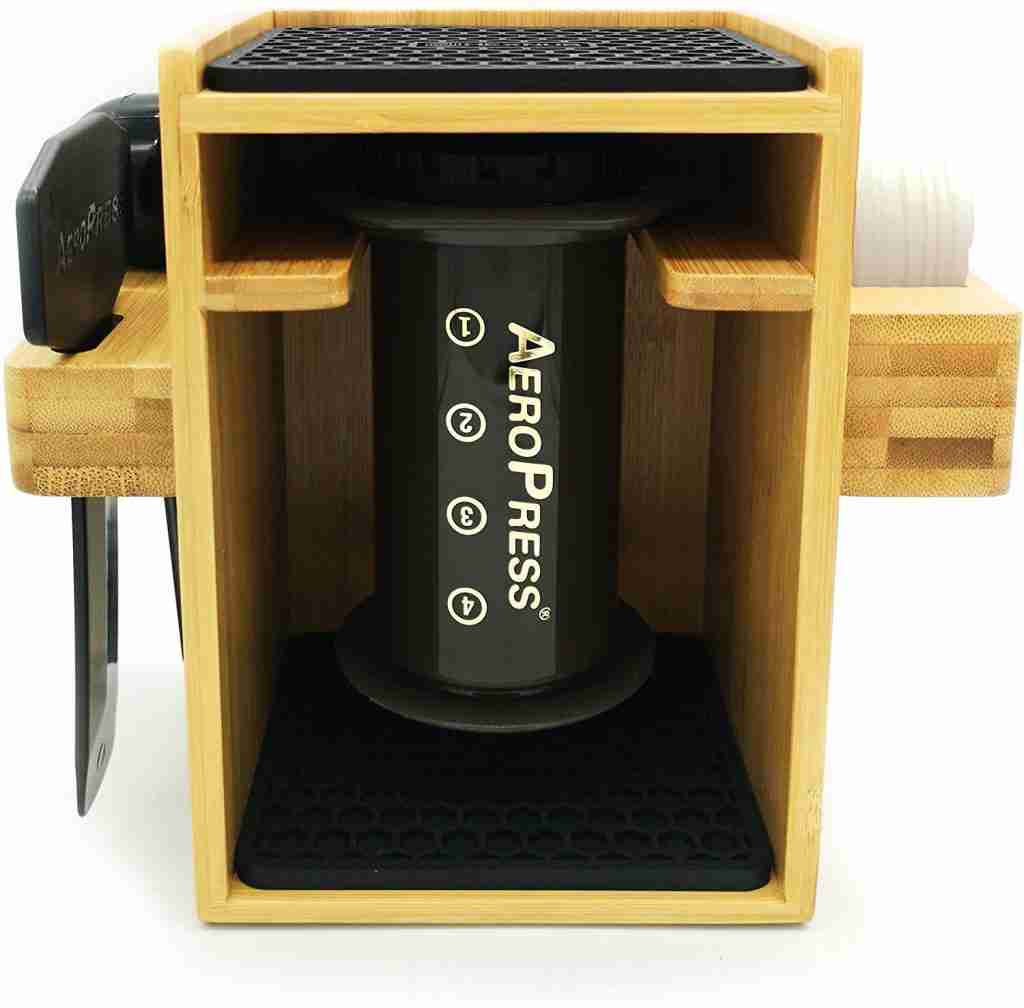
With all the parts and accessories the Aeropress measures 9 1/2″ height, 4″ width, and 4″ length. This makes it easy to pack and use for travel. You can also buy a stand by Hexnub for easy access. It also looks great on your countertop! Check them out on Amazon.
Why the AeroPress makes great coffee
Thus, the result with hardly any tinkering: Two very, very good mugs of coffee. I was able to taste qualities that I had mainly read about before, particularly on the floral, fruity, and sweet end of the spectrum.
Jeffrey Steingarten – Vogue Food Editor
There are several reasons why the Aeropress makes such great coffee. One of the reasons is the total immersion of the coffee grounds with water, just like a french press. However, unlike a french press, the Aeropress has a filter. This makes the resulting coffee much healthier. If you want to learn why using a filter makes your coffee healthier read this article about the healthiest coffee.
The total immersion of the ground in hot water extracts all the robust flavors of the coffee. This extraction also results in a smoother brew compared to drip coffee.
The use of air pressure also helps squeeze out every last bit of flavor inside the coffee grounds. This enhances the flavor an extra level compared to regular french press and drip brewing methods.
This method of brewing also allows you to brew at lower temperatures reducing the acid level compared to other brew methods. Paired with the quick brew time with the air pressure the resulting cup of coffee has less bitterness and lower pH.
Laboratory testing done comparing the pH of Aeropress coffee compared to other brewing methods showed the Aeropress coffee head less than one fifth the amount of regular drip coffee. This makes it taste better and it is better for your stomach.
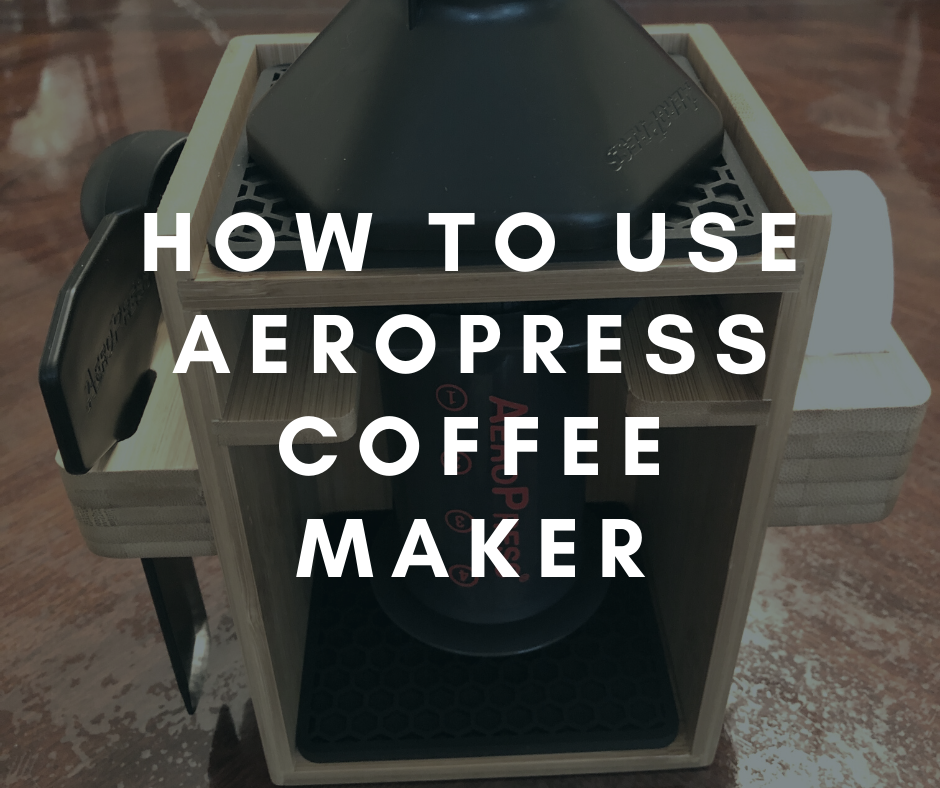
How to brew good coffee with an AeroPress (Multiple Recipes)
In this article we will be going over 10 different ways to improve your Aeropress technique with tried and tested recipes.
Standard Brew Method
Step 1 Measure out your coffee
Measure and grind about 17g of coffee this is equivalent to 1 spoonful of the Aeropress dosing spoon. Grind this to a medium fine consistency this will be about as fine table salt.
Step 2 Prepare your Aeropress filter
You can prepare your filter by placing a paper filter into the filter cap. Next, you can preheat your Aeropress chamber with hot water. While doing this wet your paper filter and rinse it with hot water. This gets rid of the paper flavor and preheats the Aeropress filter cap.
Step 3 Put in your coffee and prepare to brew
Use the funnel and pour in all your prepared coffee grounds. Make sure the filter cup is affixed to the bottom of the Aeropress.
Step 4 Pour in the water
Pour in hot water onto the grounds and try to get all the coffee saturated with hot water around 200 degrees Fahrenheit. If you are planning on making black coffee fill the Aeropress to No. 4 and if you are planning on making something similar to an espresso fill it to No. 1. Mix the grounds for 10 seconds making sure all the coffee grounds are saturated with water.
Step 5 Set up the plunge
Once everything has been mixed for 10 seconds place the plunger into the brew chamber and make sure there is a tight seal, but don’t plunge yet! Pull up slightly to make sure there is a pressurized seal.
Step 6 Plunge your coffee
Gently press down on the plunger with steady pressure until all the water has been pressed through the coffee. You should hear a hissing sound when all the air has been pressed through. This is how you know you are finished brewing.
Step 7 Clean up
In my opinion, one of the best features of the Aeropress is the easy cleanup. All you have to do is take off the filter basket and press the used grounds into a garbage can or compost bin. Afterward just rinse and clean the plunger, chamber, and filter cap. That’s it! The whole process only takes a few minutes.
Reverse Aeropress Method
Step 1 Measure out your coffee grounds
Freshly grind approximately 14g – 17g of coffee. This should be equivalent to one dosing spoon provided with the Aeropress. It should be the same size as sand or table salt.
Step 2 Prepare your Aeropress filter
Like the previous method prepare your paper filter by inserting it into the filter cap and rinsing it with hot water to get rid of the paper taste.
Step 3 Prepare the plunger and chamber
Place the plunger upside down on a table. Then attach the chamber upside down to the plunger. Make sure it forms an airtight seal! You don’t want this to leak.
Step 4 Pour in your ground coffee and water
Pour in the ground coffee that you prepared previously and pour in enough hot water so it reaches No. 2 on the Aeropress. This water should be around 200 degrees Fahrenheit to get the best brew.
Step 5 Saturate the coffee grounds
Stir the coffee grounds so all the grounds are saturated and then wait for around 30 seconds for the coffee to bloom. If you do not know what blooming coffee does please go read our article with all the information about blooming coffee.
Step 6 Add the rest of the water
Next add the rest of the water so it reaches No 4. on the Aeropress. Let this sit for an additional 1 minute before proceeding to the next step.
Step 7 Attaching the filter
Attach the filter cap with a paper filter insert while the Aeropress is still upside down.
Step 8 Flip and press
Quickly flip the Aeropress over a cup and gently press the plunger down until all the water is pushed out. You should hear a hissing sound when your cup of coffee is ready. You should take around 30 seconds to fully plunge your coffee.
Conclusion
When used properly, AeroPress produces a remarkably good straight espresso and an excellent Americano-style taller cup. In fact, it produces a better espresso shot than many home machines that cost twenty or thirty times as much.
Kenneth Davis – Author of “A Guide to Buying Brewing and Enjoying Espresso”
Say goodbye to the french press! The Aeropress completely blows the french press out of the water by avoiding the bitterness and high acidity created by the longer steep times. It also removes the grit with high quality micro filters that are chemical free and biodegradable.
This brewing method is perfect for travelers, cramped kitchens, and coffee aficionados alike. It is both portable and durable making it perfect for use on the go while staying lightweight and compact because of the small blueprint. If you haven’t already check out the Aeropress on Amazon and read all the great reviews!